First Boot
You have flashed the firmware and the device has just started. Here is how to make it yours.
Splash
The first thing you see is a line from a writer, then the main menu. Splash has all five.
The Five Buttons
POWER, EXECUTE, LIGHT, UP and DOWN, from the outside in. In the menus UP and DOWN move, EXECUTE selects, and every submenu starts with a Back row so you can always get out with the buttons alone. LIGHT cycles the backlight (100, 70, 40, 15 percent). POWER shows a status panel over whatever is on screen: WiFi and keyboard state, free space, battery, word count in the editor. Holding POWER for three seconds on battery powers the device off.
You will want a keyboard for actual writing, and for typing a WiFi password. Everything else works from the buttons.
The SD Card
The firmware expects a FAT-formatted SD card with two folders at the top:
/projects/
/git/
Both are created when needed, but the git folder is easiest to fill from your computer. Choose Disk Mode from the main menu and the SD card appears as a USB drive named OYOBYOK Disk. Copy things over, eject, then unplug and power the device off and on again (Disk Mode ends with a power-cycle; Flashing explains why).
The templates in firmware/device-files/git/ are a good starting point: copy that whole folder to /git on the card. Configuration describes every file in it.
Keys
The SSH stack is libssh2 on mbedTLS. It handles RSA and ECDSA keys in PEM form, and it does not handle ed25519, so an existing id_ed25519 will not work. Make a key for the device on your computer:
ssh-keygen -t rsa -b 3072 -m PEM -N "" -f oyobyok_rsa
Copy oyobyok_rsa and oyobyok_rsa.pub into /git/keys/ on the card. Add the contents of the .pub file to your Git host as a deploy key with write access, or to your account, and to ~/.ssh/authorized_keys on any SFTP server you want to push to. The private key never leaves the device.
An ECDSA key works too (ssh-keygen -t ecdsa -b 256 -m PEM ...). With ECDSA the .pub file must be present next to the private key, because the mbedTLS backend can only derive the public half for RSA.
Tell It About Your Repository
Edit /git/remotes.conf on the card. One section for who you are, one per project:
[identity]
name  = Your Name
email = you@example.com

[Drafts]
remote = git@github.com:you/drafts.git
branch = main
key    = keys/oyobyok_rsa
The section name must match the folder name under /projects exactly. A project that is in remotes.conf but not yet on the card is created on the first Sync.
WiFi
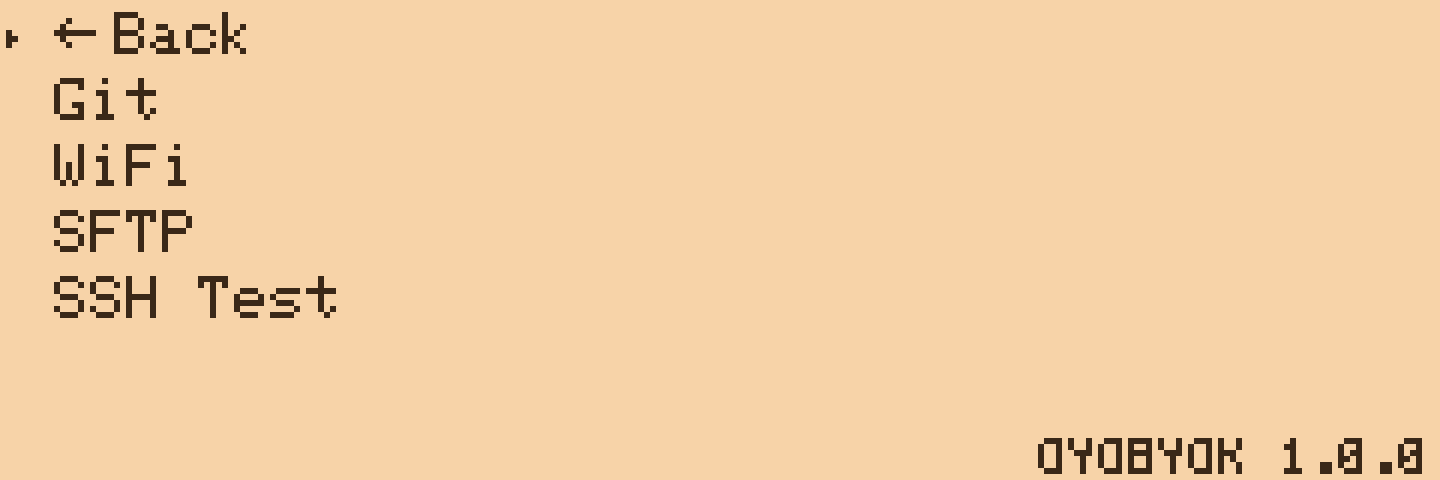
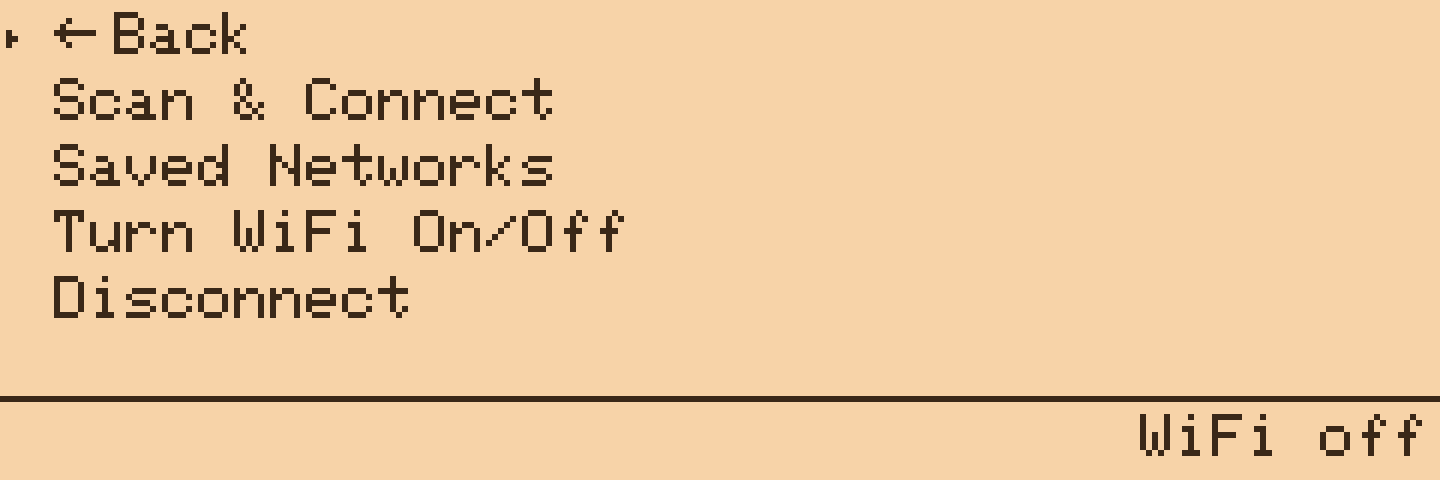
Synchronise > WiFi. Scan & Connect lists the networks around you; pick one and type its password (this is the one place a keyboard is needed). The network is saved, and from then on the device connects to it on its own whenever WiFi is up. Saved Networks lets you reconnect to a known one, and Turn WiFi On/Off does what it says for the current visit to the Synchronise page.
The radio is off outside the Synchronise page. Entering the page brings WiFi up and connects to the last known network; leaving it takes WiFi down, unless a sync is still running in the background, in which case the radio stays up until it finishes.
Keyboard
Bluetooth > Connect a keyboard. Put your keyboard into pairing mode, wait for the scan, pick it from the list. Pairing is Just Works (no PIN). Once paired, the keyboard is remembered: the device reconnects to it at boot and after any drop, without asking. Forget Keyboard clears the bond if you want to pair a different one.
Multi-device keyboards work fine; just keep the device on the same slot you paired it with.
Try It
Synchronise > SSH Test connects to GitHub with your key and shows the greeting it sends back. If that says hello, everything from the radio to the key file is working, and you can go and write something.